Hosting & Entertaining· 6 min read
The Document Archivist’s Toolkit: Reading Faded Inks and Vintage Print
Discover essential preservation methods for historical documents. Learn to decipher faded inks and vintage print with an archivist's toolkit and techniques.
By Antler Tree · 1 June 2026
A digital scan can never replace the tactile weight of history in your hands. But what good is a family letter, an old deed, or a mariner’s map if its stories have faded beyond deciphering? The key is not just to look, but to know how to see.
The First Rule of Handling: Do No Harm
Before any attempt to read or interpret, the archivist’s primary oath is to preservation. Antique documents, particularly those kept in less-than-ideal conditions, are incredibly fragile. The paper is often brittle, the ink acidic, and the folds are fault lines waiting to become tears. Every touch, every exposure to light, and every change in humidity carries a risk.
Your hands, even when clean, carry oils and acids that can permanently stain or degrade paper fibres. The first step is to create a safe handling environment. This means working on a clean, flat, and ample surface, away from food, drink, and direct sunlight. If you must handle the document directly, wear clean white cotton or nitrile gloves. This prevents the transfer of oils while allowing for a secure, if less sensitive, grip.
Avoid the temptation to flatten a creased document by force. Folds that have existed for a century are now part of the object's structure. Unfolding them can crack the paper and ink along the line. Instead, allow the document to relax in a controlled environment. If you need to hold it flat for viewing, use archival weights—often called 'snake weights'—which are soft, pliable tubes filled with shot that can be laid across the edges without pinching or marking the surface.
Building Your Archivist’s Toolkit
An archivist’s toolkit is not about complex machinery; it is a curated set of simple, effective instruments designed for gentle inquiry. These tools are extensions of your senses, allowing you to investigate without intrusion. Besides gloves and weights, a few items are indispensable.
A soft, natural-bristle brush, like one made from goat hair, is perfect for lightly dusting away surface debris. Use a gentle sweeping motion, brushing from the centre of the document outwards to avoid catching and tearing the edges.
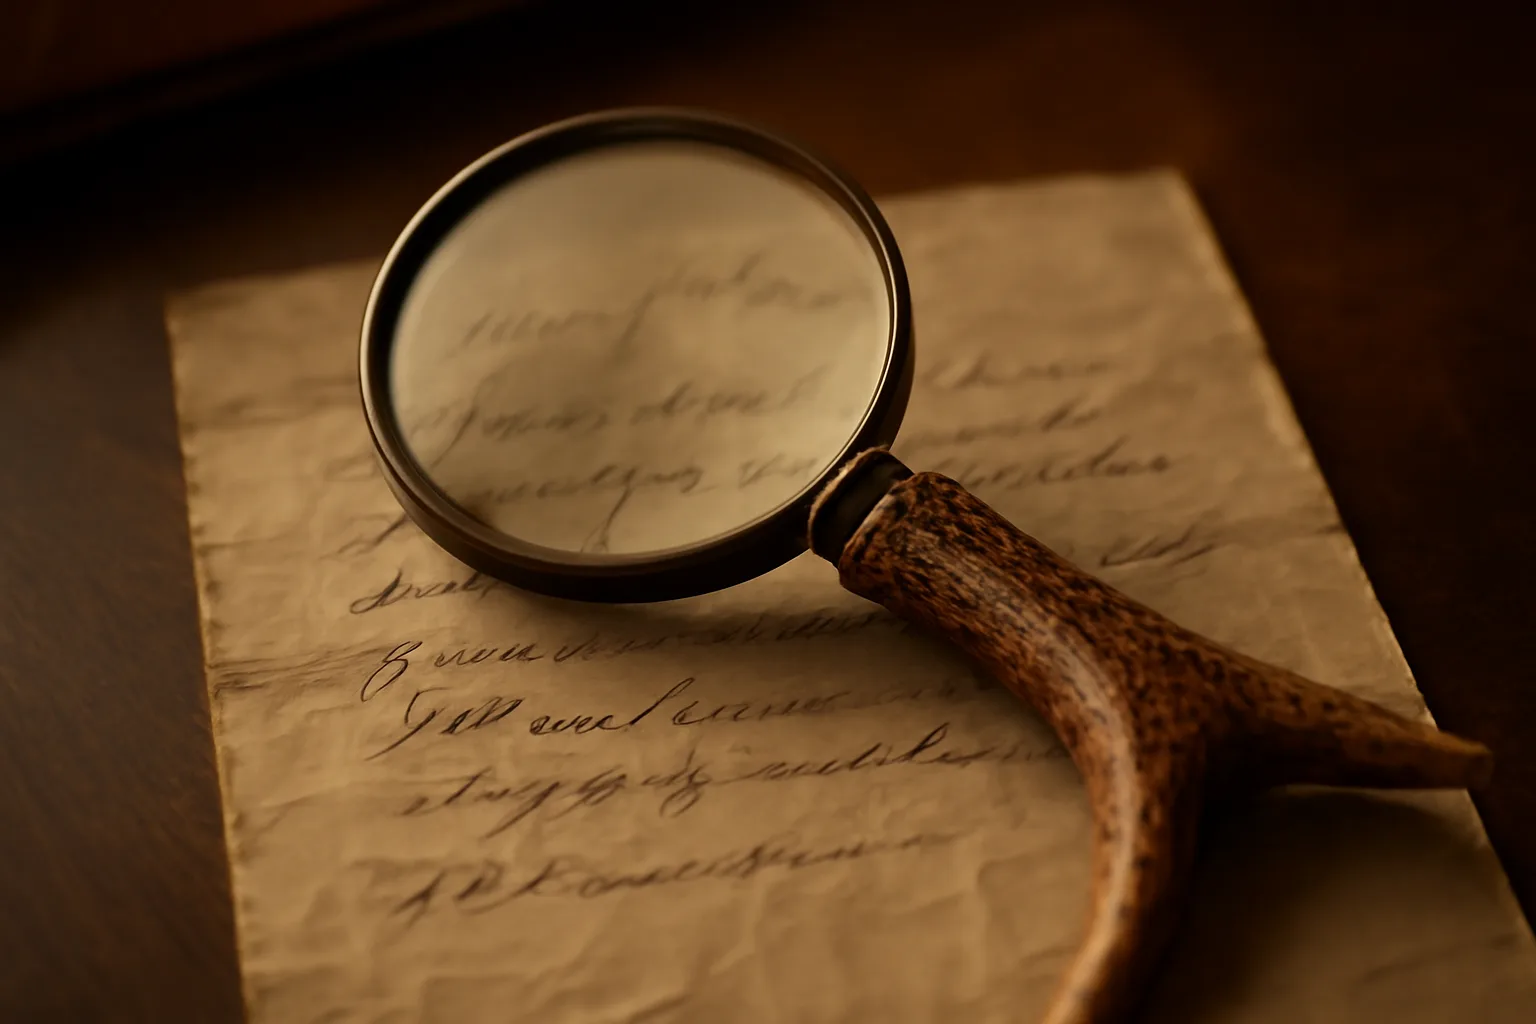
However, the centrepiece of any document inspection toolkit is the magnifying glass. Not just any magnifier will do. A cheap plastic lens will introduce distortion, chromatic aberration (colour fringing), and frustration. What you need is a high-quality glass lens, ground to provide a clear, flat field of view from edge to edge. The quality of the glass determines how much light is gathered and transmitted, directly impacting the clarity of the script without needing harsh, damaging external light sources.
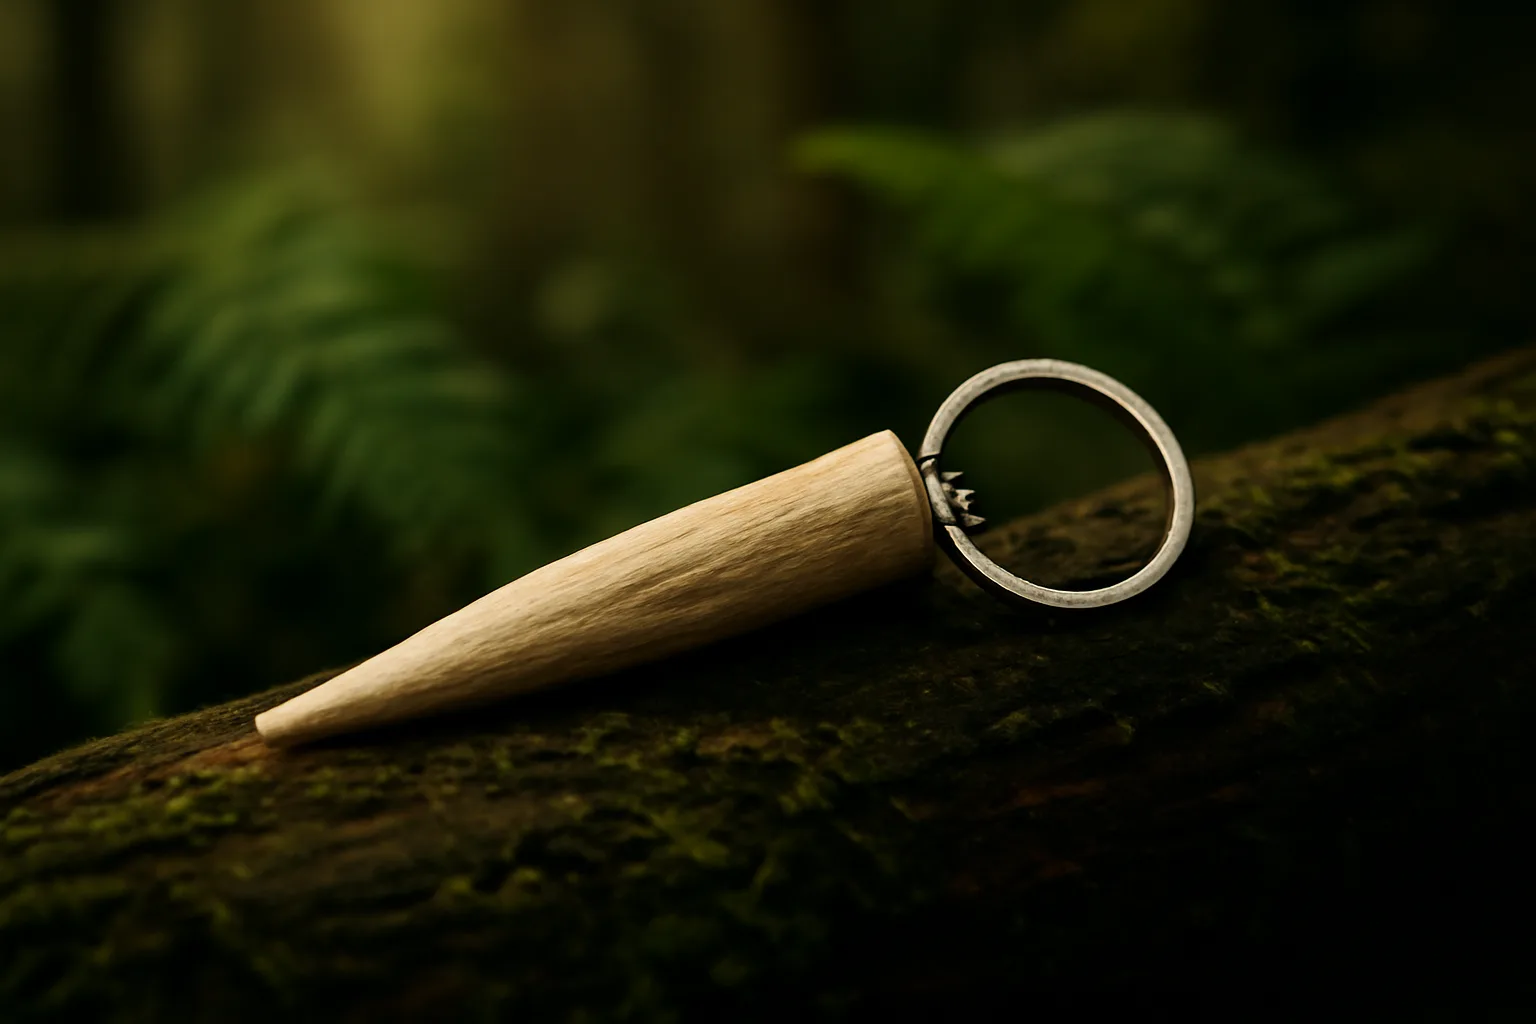
The tool's body is just as important. A handle that is poorly balanced or uncomfortable will lead to fatigue and unsteady hands—the enemy of careful observation. A handle crafted from a substantial, natural material like timber or bone provides weight, balance, and a tactile comfort that encourages slow, patient work. This is the philosophy behind our own handcrafted pieces, where the unique form of each piece of naturally shed New Zealand red deer antler is shaped into a tool that feels like a natural extension of the hand.
The Science of Sight: Deciphering Faded Script
Viewing a faded document is a technical challenge. The ink may have flaked away, or it may have been absorbed deep into the paper’s fibres, leaving only a ghost of the original script. Choosing the right optical approach is critical not just for legibility, but for the document’s long-term survival. This is where professional archivists apply specific principles of magnification and light management.
Magnification and Field of View
It is a common misconception that more magnification is always better. In reality, excessive magnification is often counterproductive. As you increase the power (e.g., from 3x to 10x), you drastically shrink your field of view—the circular area you can see through the lens. This makes it impossible to read words and phrases in context, forcing you to scan back and forth, which is disorienting and increases the time the document is handled and exposed.
For most historical documents, such as 19th-century letters written in iron gall ink or early 20th-century pencil annotations on maps, a magnification of 3x to 5x is the optimal range. This power is sufficient to enlarge the letterforms and reveal subtle details in the ink's texture without sacrificing the contextual field of view. You can still see entire words or short phrases, making the process of transcription feel fluid and natural.
For more specialised tasks, like examining the specific pattern of paper fibres to identify its origin, inspecting a watermark, or trying to differentiate between two overlapping strokes of a pen, a higher magnification of 8x or 10x may be useful. This is for targeted, momentary inspection, not for general reading.
Focal Depth and Light Control
Equally important is the lens's focal depth (or depth of field). This refers to the vertical distance that remains in sharp focus. A lens with a shallow focal depth requires you to hold it at an exact distance from the paper; any slight movement of your hand or buckle in the document will throw the image out of focus. This constant need to readjust is inefficient and stressful for both you and the object.
For archival work, a lens should provide a generous focal depth of at least 8mm to 15mm. This tolerance allows you to hold the magnifier comfortably and view an uneven or cockled paper surface without losing clarity across the entire field. You can glide the lens smoothly over the document without needing to adjust its height constantly.
Perhaps the most crucial insight is in light management. Never shine a bright, hot lamp directly onto a historic document. The heat causes desiccation and brittleness, while the UV component of the light causes irreversible photo-oxidation, literally bleaching the ink and darkening the paper over time. The goal is to work with high-quality ambient light, and a superior lens makes this possible. A large-diameter glass lens—ideally between 75mm and 90mm—functions as an excellent light-gathering instrument. It collects the existing light in the room and concentrates it on your field of view, making the script appear brighter and clearer without any added, harmful illumination.
Beyond the Lens: Complementary Techniques
While a quality magnifier is your primary tool, other techniques can aid in deciphering truly challenging text. These methods still prioritise the safety of the document and are best performed under magnification.
One of the most effective techniques is using 'raking light.' This involves placing a shielded, low-wattage LED light source at a very low angle to the document's surface. This light casts shadows in any indentations, often revealing the physical impression of the pen nib in the paper. Even if the ink has vanished completely, you can sometimes read the words from the imprints it left behind. It's a ghostly echo of the writer's hand, made visible.
Another method is to carefully examine the reverse side of the page, or the verso. Sometimes, the ink has bled through the paper in a way that provides a slightly clearer, if mirrored, outline of the script. This can be especially true for documents that have suffered from surface abrasion or fading on the primary side.
While we advocate for the irreplaceable value of physical inspection, digital tools have their place. A high-resolution, colour-calibrated flatbed scan can be used to create a digital surrogate. On a computer, you can manipulate contrast, adjust colour channels (which can sometimes make one type of ink stand out from another), and zoom in without any further risk to the original. The digital copy becomes the workhorse, while the original artifact can be safely stored.
The Tactile Connection to History
The process of discovery is a slow, contemplative one, best served by tools that feel as though they have their own story. The cool, smooth surface of a ground glass lens, the heft and unique grain of its handle—these elements transform the act of looking into a richer, more meaningful experience. A finely crafted Antler Handle Magnifying Glass, for instance, offers not just optical clarity but a tangible connection to the natural world, grounding the historical search in the present.
Each handle, shaped from naturally shed New Zealand red deer antler, is entirely unique in its texture, colour, and form. This means the tool you use to uncover another’s history is itself a one-of-a-kind object. There is a quiet harmony in using a tool born of nature to read a story captured on paper, another natural material. This philosophy of craft, patience, and material integrity is at the heart of responsible archival work. It acknowledges that we are temporary custodians of these items, and our role is to preserve their stories for the next generation.
Unlocking the stories held in a faded letter or the boundaries on a forgotten map is an act of preservation. It requires patience, keen observation, and a toolkit that respects the fragility of the past. By combining a gentle hand with the right optical tools, we can listen to the faint whispers of history and ensure they are not lost to the silence of time. The right tool not only reveals the secrets of the page; it deepens our respect for the object itself.
Related reading

Hosting & Entertaining· 6 min read
The Craft Beer Pour: Why the Opening Ritual Influences Taste Perception
Discover how the ritual of opening a craft beer influences taste. This article explores the physics of a perfect pour and why a quality bottle opener matters.
Read article →
Hosting & Entertaining· 6 min read
Passive Harvesting: The Absolute Peak of Ethical Manufacturing
Explore passive harvesting, a zero-harm model of making. Discover how using naturally shed deer antler offers a profound ethical alternative to resource extraction.
Read article →

Hosting & Entertaining· 5 min read
Sizing and Scale: Selecting Statement Pendants for Your Silhouette
Learn how to select the perfect statement pendant. Our guide covers matching necklace length to necklines and using organic shapes to flatter your silhouette.
Read article →